Nantucket is the land of fir gutters. Historically correct perhaps, attractive in their own way and approved by the Historic District Commission, they are also heavy, difficult to join effectively, subject to the all the foibles of long pieces of wood and quite expensive. When I was first asked to look into fiberglass gutters, I was skeptical. I imagined that they would be difficult to work with. I anticipated splintering glass, jagged-edged joints and labor-intensive epoxy work.
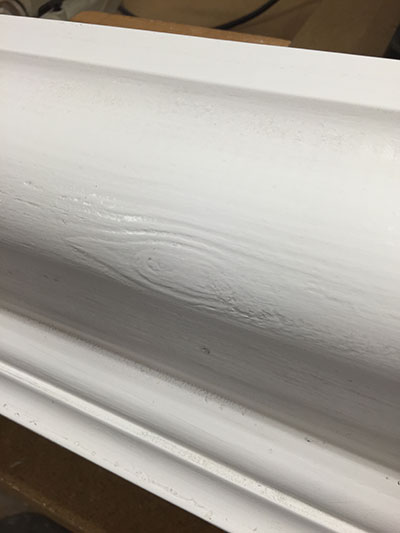 My first installation was a sample for Marine Home Center. I was immediately impressed with the light weight and sturdy construction. This particular product of The Fiberglass Gutter Company comes from molds made from actual wood gutters, so it retains the grain patterns evident in the wood. It also has a decorative molding built in, so if you’ve done your gutter end cuts and miters properly, it’s all good. The gutters cut cleanly with no chipping with a 12″ miter saw, allowing excellent joints. If you use the version without the bed molding on the bottom, a 10″ saw will do nicely.
The light weight of the fiberglass means that one installer can do a good deal of work with long pieces with the use of temporary mounting blocks.
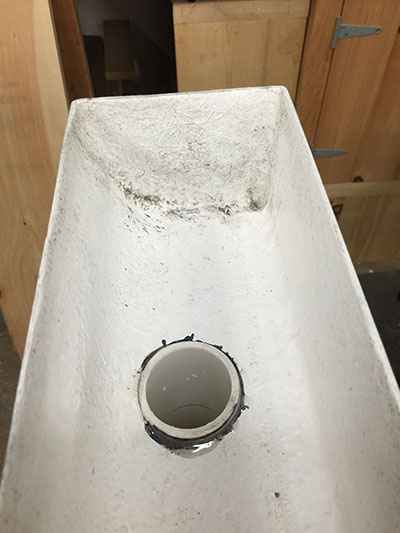
 I find several tasks to be much easier with fiberglass gutters. One is the installation of the leader pipe nipples. Where I use threaded galvanized pipe in fir, I use PVC pipe in fiberglass. It’s easy to get a hole saw of matching size and it’s receptive of epoxy, making a strong, leak-proof fit.
This is an 1⅞” pipe, which fits well into a 2″ leader pipe, but the gutter has a pretty large capacity, so a 2¼” pipe might be a good idea.
I use West System G5 Epoxy for a quick tack of any pieces, be they the nipples, end plates or miters. It’s a simple 1/1 mixing ratio and cures in about 5 minutes, and is thick enough that itwon’t drip during application. Later, the West System 105/205 resin-hardener combination will be used to permanently bond all parts.
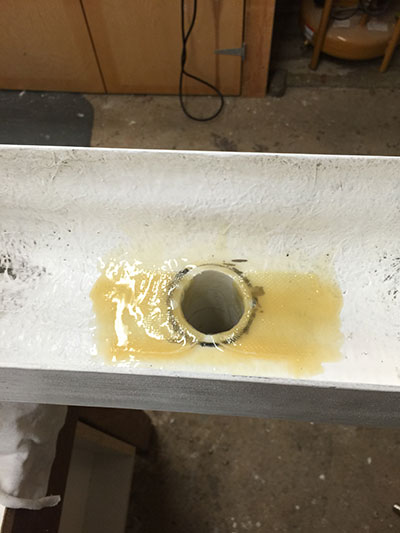 The 105/205 epoxy combination with 2″ fiberglass tape wraps down into the pipe for additional strength. If the inside of the gutter can be seen from above, as through a second story window, a bit of paint might be appropriate.
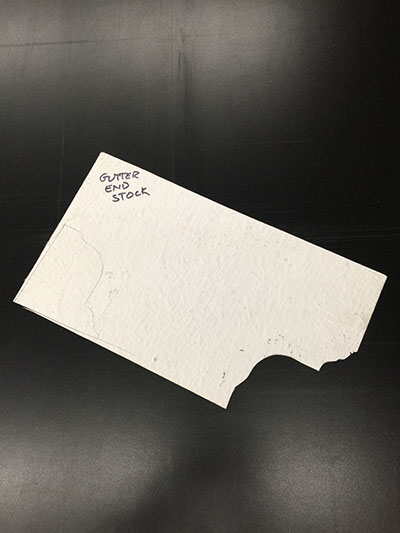
Fiberglass sheet provided for end caps is big enough for 6 pieces. I cut the caps with a jig saw, leaving them slightly large for trimming later. They can be tacked with CA glue prior to glassing.
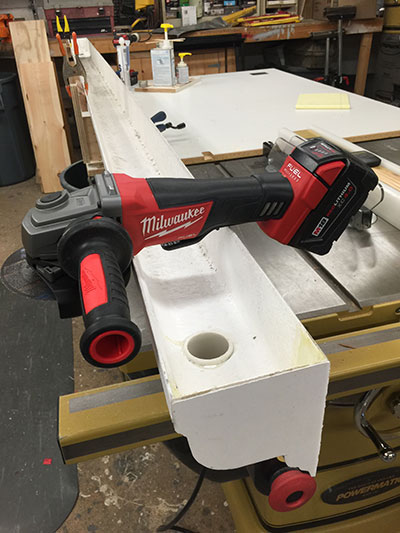 I used the Milwaukee M18 Fuel cordless grinder to profile the end cap. Final finishing was done with the very un-PC bastard file. The cordless was also used to grind the PVC pipe flush with the gutter.
I never knew a carpenter could find so many uses for a grinder.
 The end cap joint is finished with automotive body filler, sanded and painted. This is a far cry from the old practice of tacking on a piece of lead with boat nails!
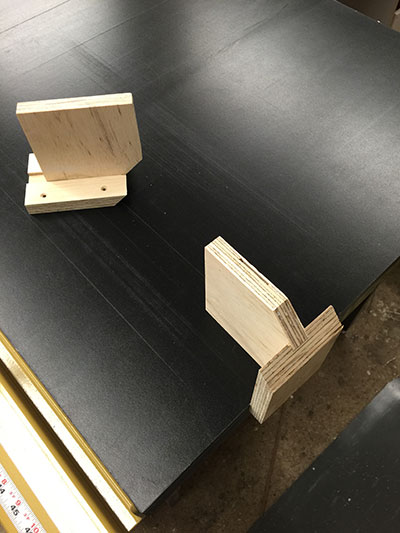 A handful of mounting blocks cut to accommodate the shape of the gutter make it easy for one person to install some long lengths. These are screwed to the fascia with enough room to move the gutter a bit to meet the chalk lines.
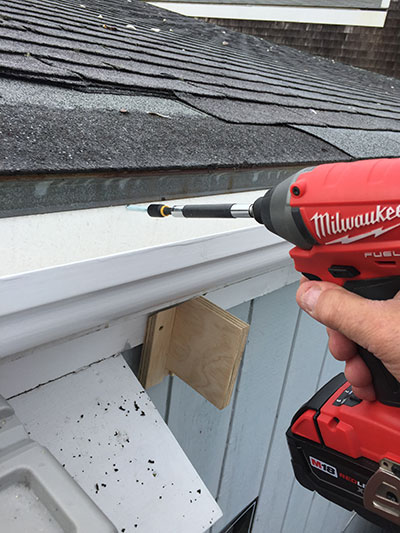
This is where the belt clips on the Milwaukee drill and driver come in handy, they leave two hands free for climbing the ladder. The drill is for boring holes in the back of the gutter and the driver is for setting the hex-head screws. Given the thickness of the combined fascia and sub-fascia, it’s not necessary to find rafter tails for fastening as it would be if using nails.
Not to worry, the roofer is scheduled. Not enough shingle tabs left, and too many shells, courtesy of the seagulls.
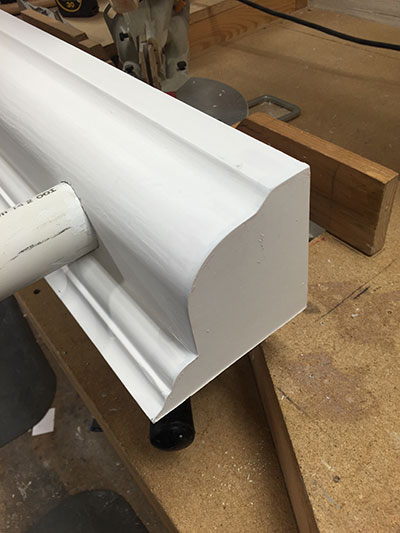
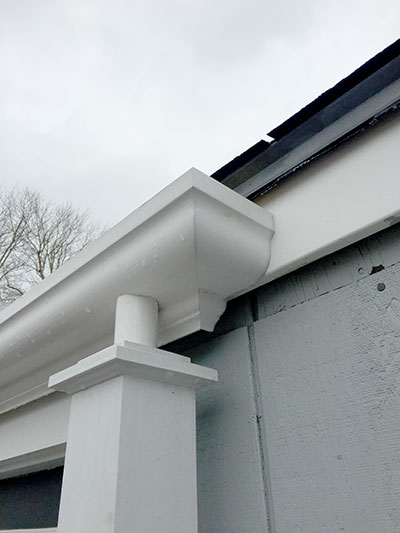 A sample of a mitered end. The end piece is ¼”longer than the width of the gutter to cover the stand-off blocks behind. Another advantage of the fiberglass gutters is the thinness of the material. It allows a very deep, high capacity trough and fits tight up under the inadequate overhang provided by this aluminum drip edge.
Fiberglass gutters are fairly expensive initially. They require epoxy work at the joints, requiring favorable temperatures, but are no more labor-intensive than wood gutters. They are strong enough to lean a ladder against and one person can handle long lengths without assistance. The real return on investment should come from a far greater service life than fir, and the need for virtually no maintenance. They are also indistinguishable from traditional wood. (Unless you consider the lack of leaks and rot!) This suggests that they would be ideal in a historic district and anywhere else that the look of the old style is appreciated.
These gutters, Milwaukee tools and the line of West System epoxies are in stock at Marine Home Center on Nantucket.
Leave A Comment